I design where hardware and interface meet, so the seam between them disappears.
The problems I like are the ones that are hard to put into words and obvious the second they’re in your hand.
Industrial design is where I started, so I treat an interface like an object: it should have weight, edges, and a right way to be held. I’ve followed that instinct through an autonomous-vehicle cockpit at Mercedes-Benz, a tugboat’s controls, and the digital products I build now in Graz.
My projects usually start from an experience vision, a sense of how something should feel in someone’s day. The Disconnected Controller started with an evening after work: you want the comfort of a smart home, but every control lives on the phone you’re trying to put down. Sivun started with a meeting recorder that keeps everything private and still lets everyone in the room see when it’s listening.
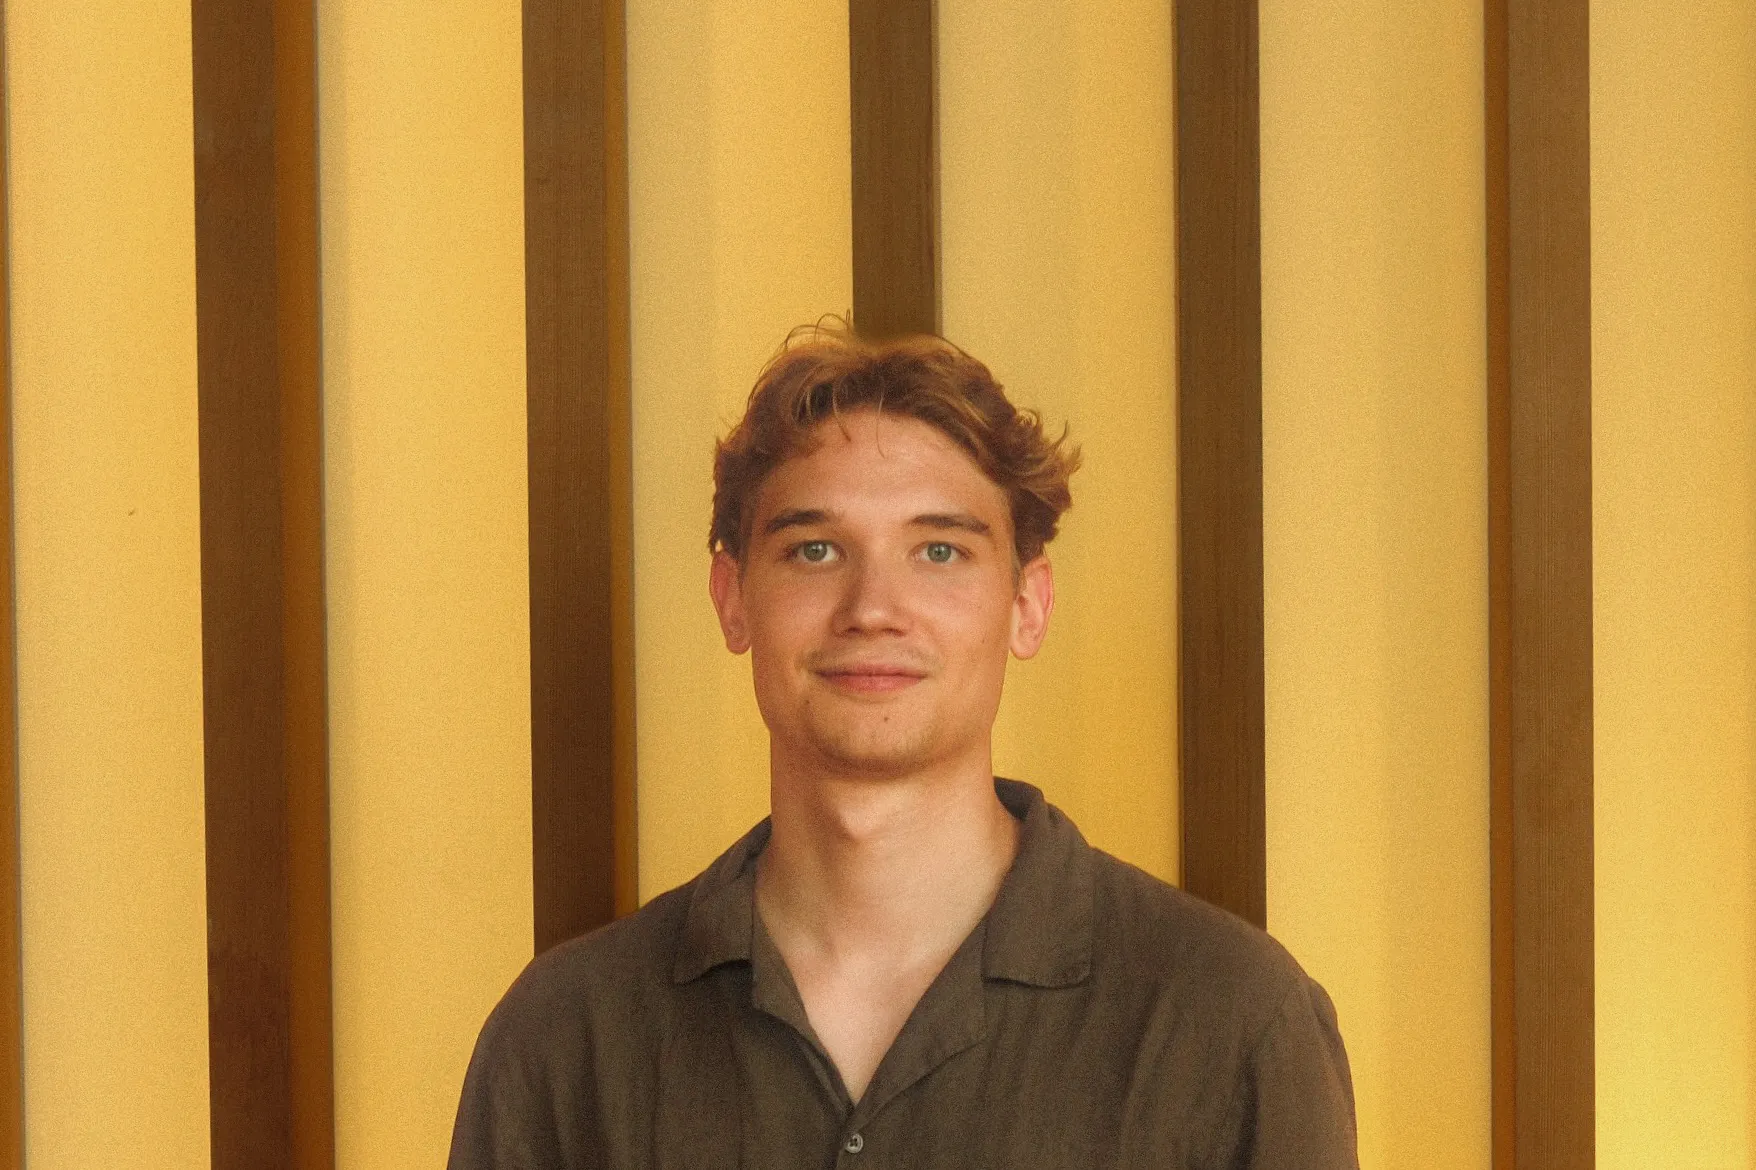
Industrial designer & design technologist · Graz, Austria
Getting from that vision to something people can hold often means building the tools first. My thesis at Mercedes-Benz turned into six more months in the Sindelfingen studio, and most of that went into a modular prototyping kit: components plug into an ESP32 and switch on from a web page the board serves itself, so an interaction idea can be wired up and tested the same afternoon someone has it.
What I am doing at the moment:
I moved to Graz in July 2025 to design production software at LearningSuite: the learning platform and its sister product, SalesSuite, a CRM. I take features from first concept through developer handoff, implementation review and QA. Most of the daily work is UI craft: hierarchy, states, and the quiet consistency of something people use every day, including dashboards that help customers understand and monitor their credit usage. I also led the team’s move to AI-assisted prototyping and built a design system around Claude Design for it. Complex workflows now get prototyped much faster, and the time that frees up goes into the small details and into directions we wouldn’t have had time to try before.
Most recently the LearningSuite founders asked me to design a new sales product from the ground up. It has two sides: an app for sales reps, and a cloud-based dashboard where managers follow their team and every rep can see their own progress. It isn’t out yet, so the details stay private for now.
Alongside the product work, I own both company websites end to end. I design every new page, brief graphic design on the visuals it needs, build it in Webflow and take sign-off from the owners directly. So far that’s four feature pages for SalesSuite, a set of unlisted pages for lead generation, and LearningSuite’s Intelligence page, the most developed of them.
On the bench:
Sivun
V2 in progress · since September 2026
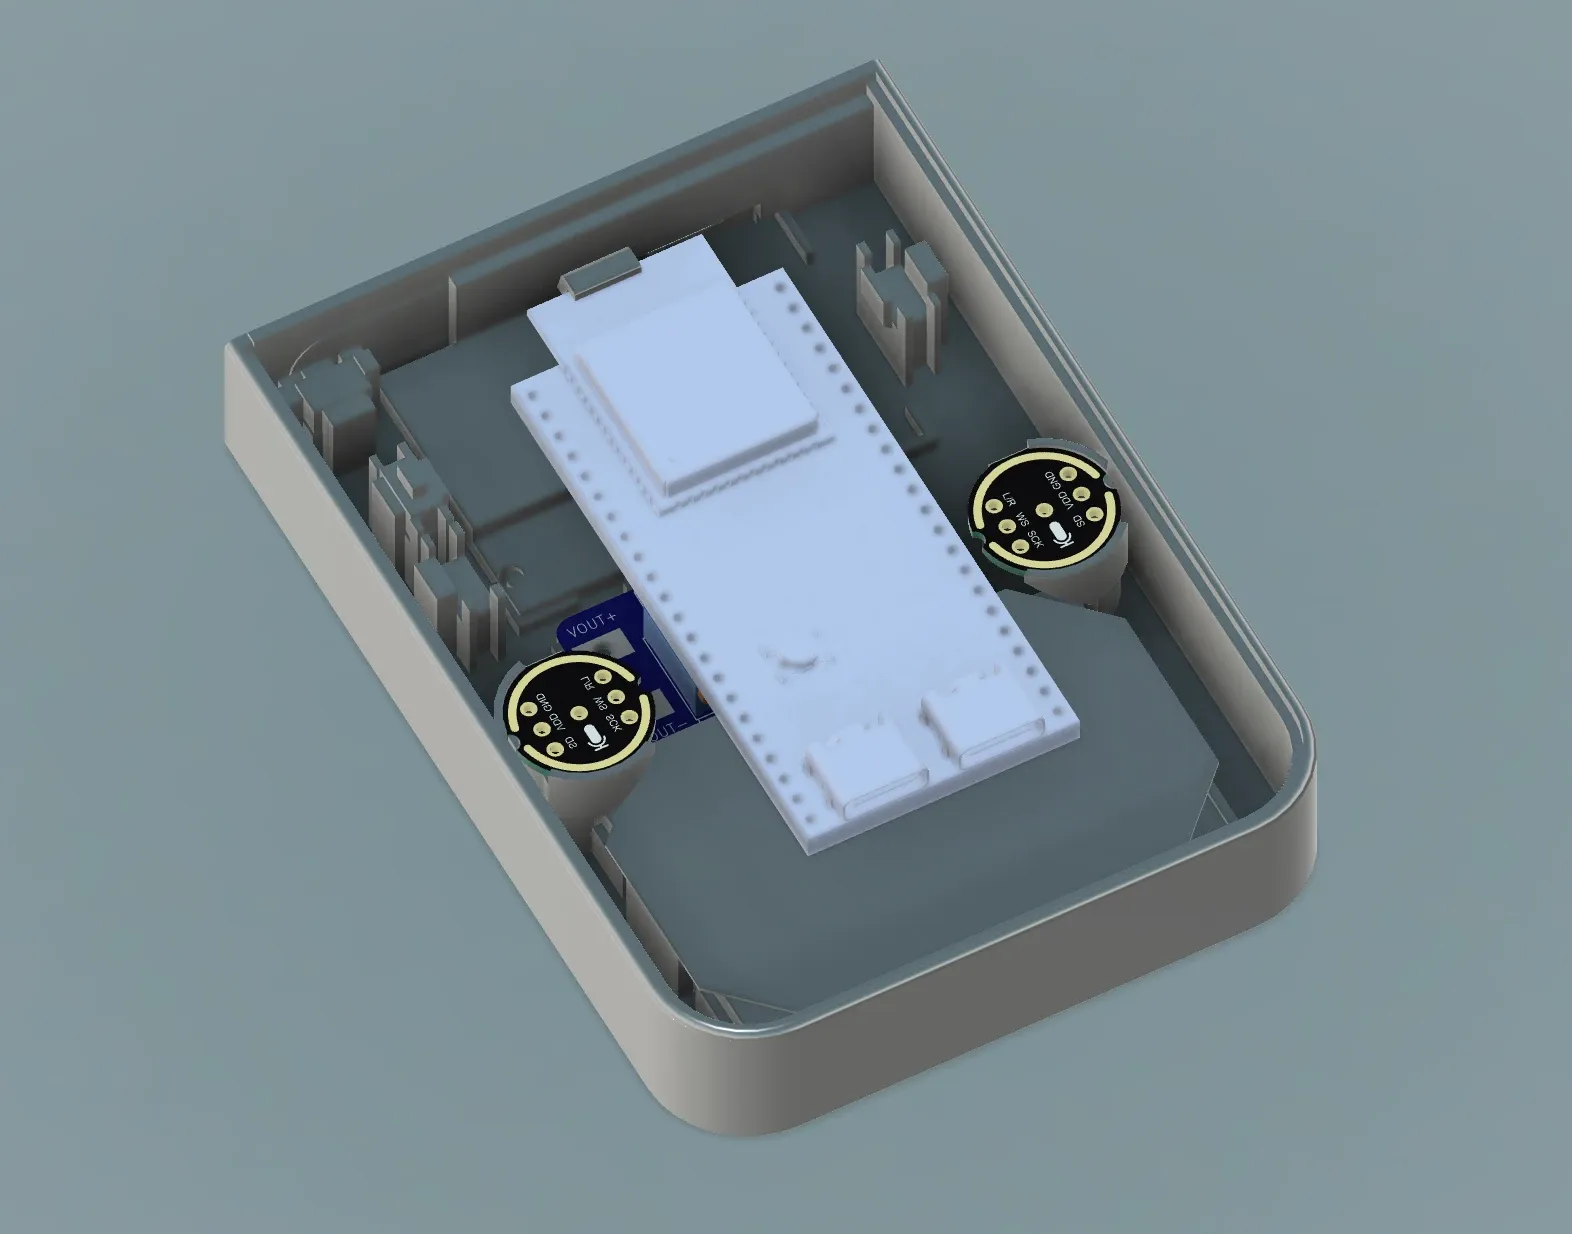
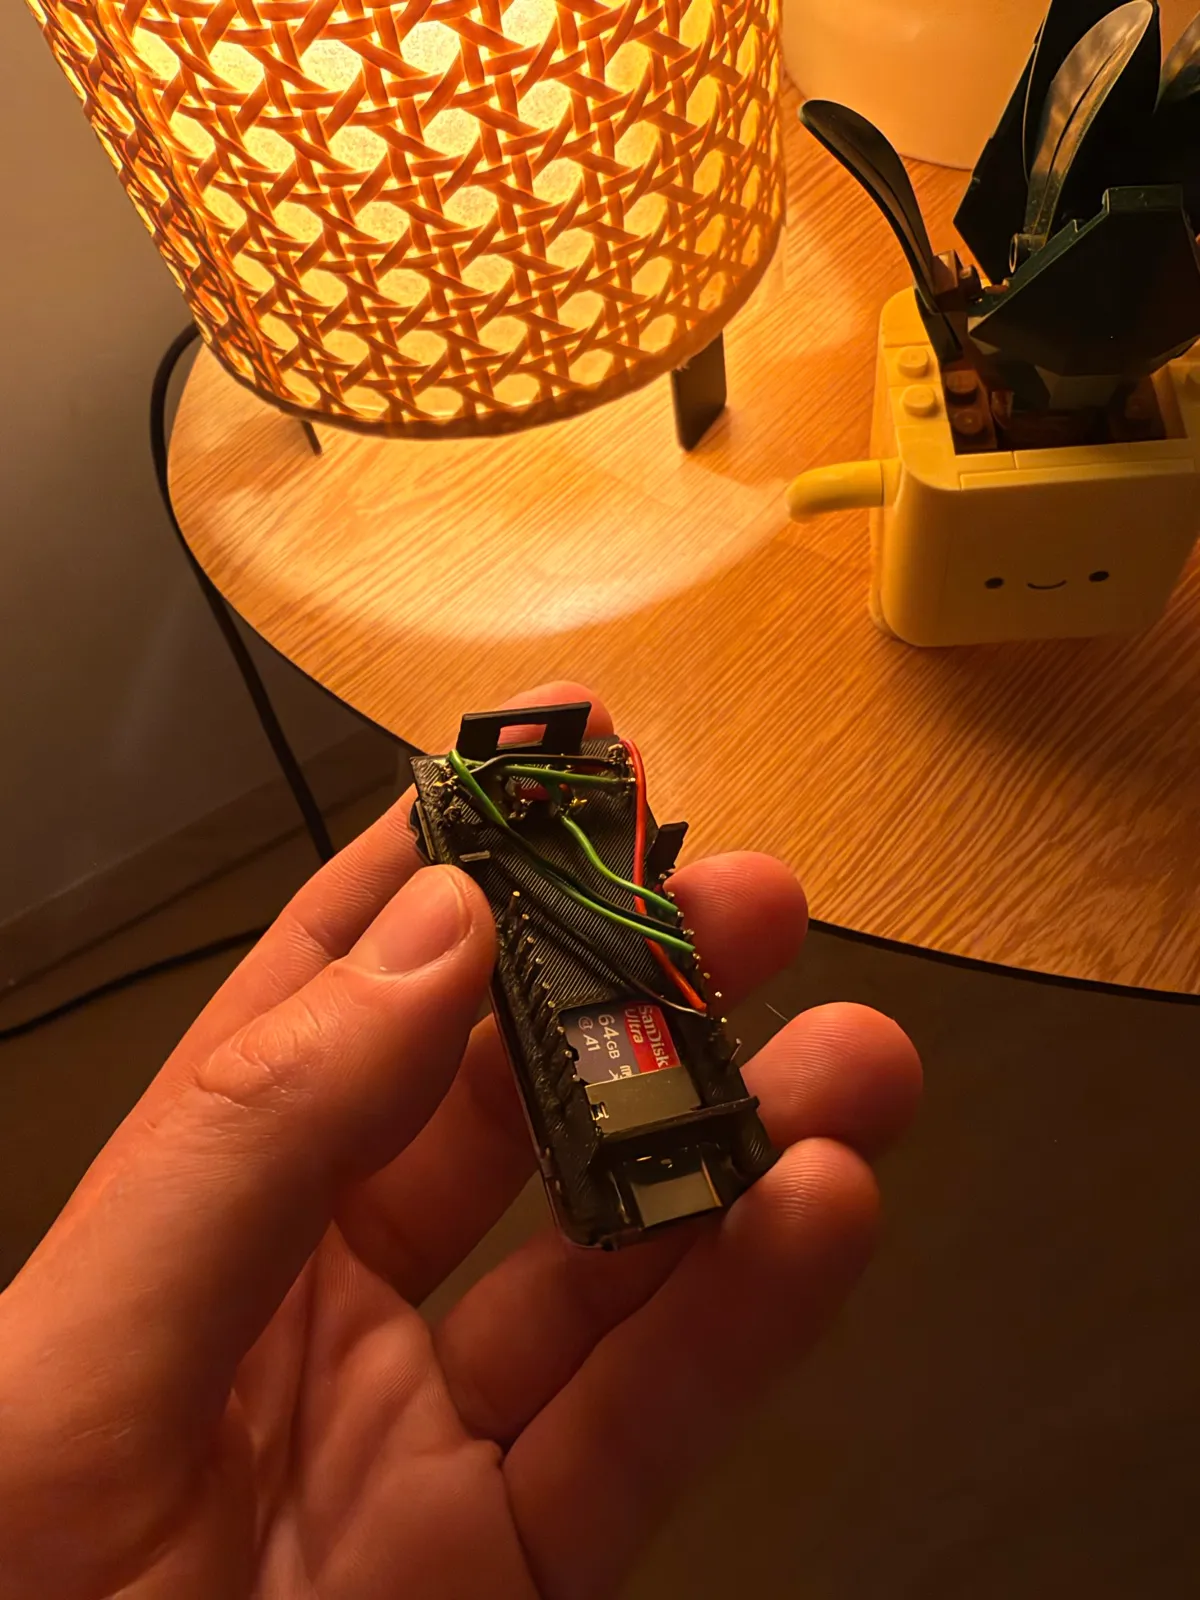
A dictation and meeting-notes tool for the Mac that runs locally. Whisper transcribes the audio and a local LLM cleans up the transcript, so nothing ever goes to a server and you don’t have to wonder who else might be reading along. A small recorder feeds it: it records to a memory card and passes the files to the Mac over its own Wi-Fi network, so it never has to join a public network that can’t necessarily be trusted.
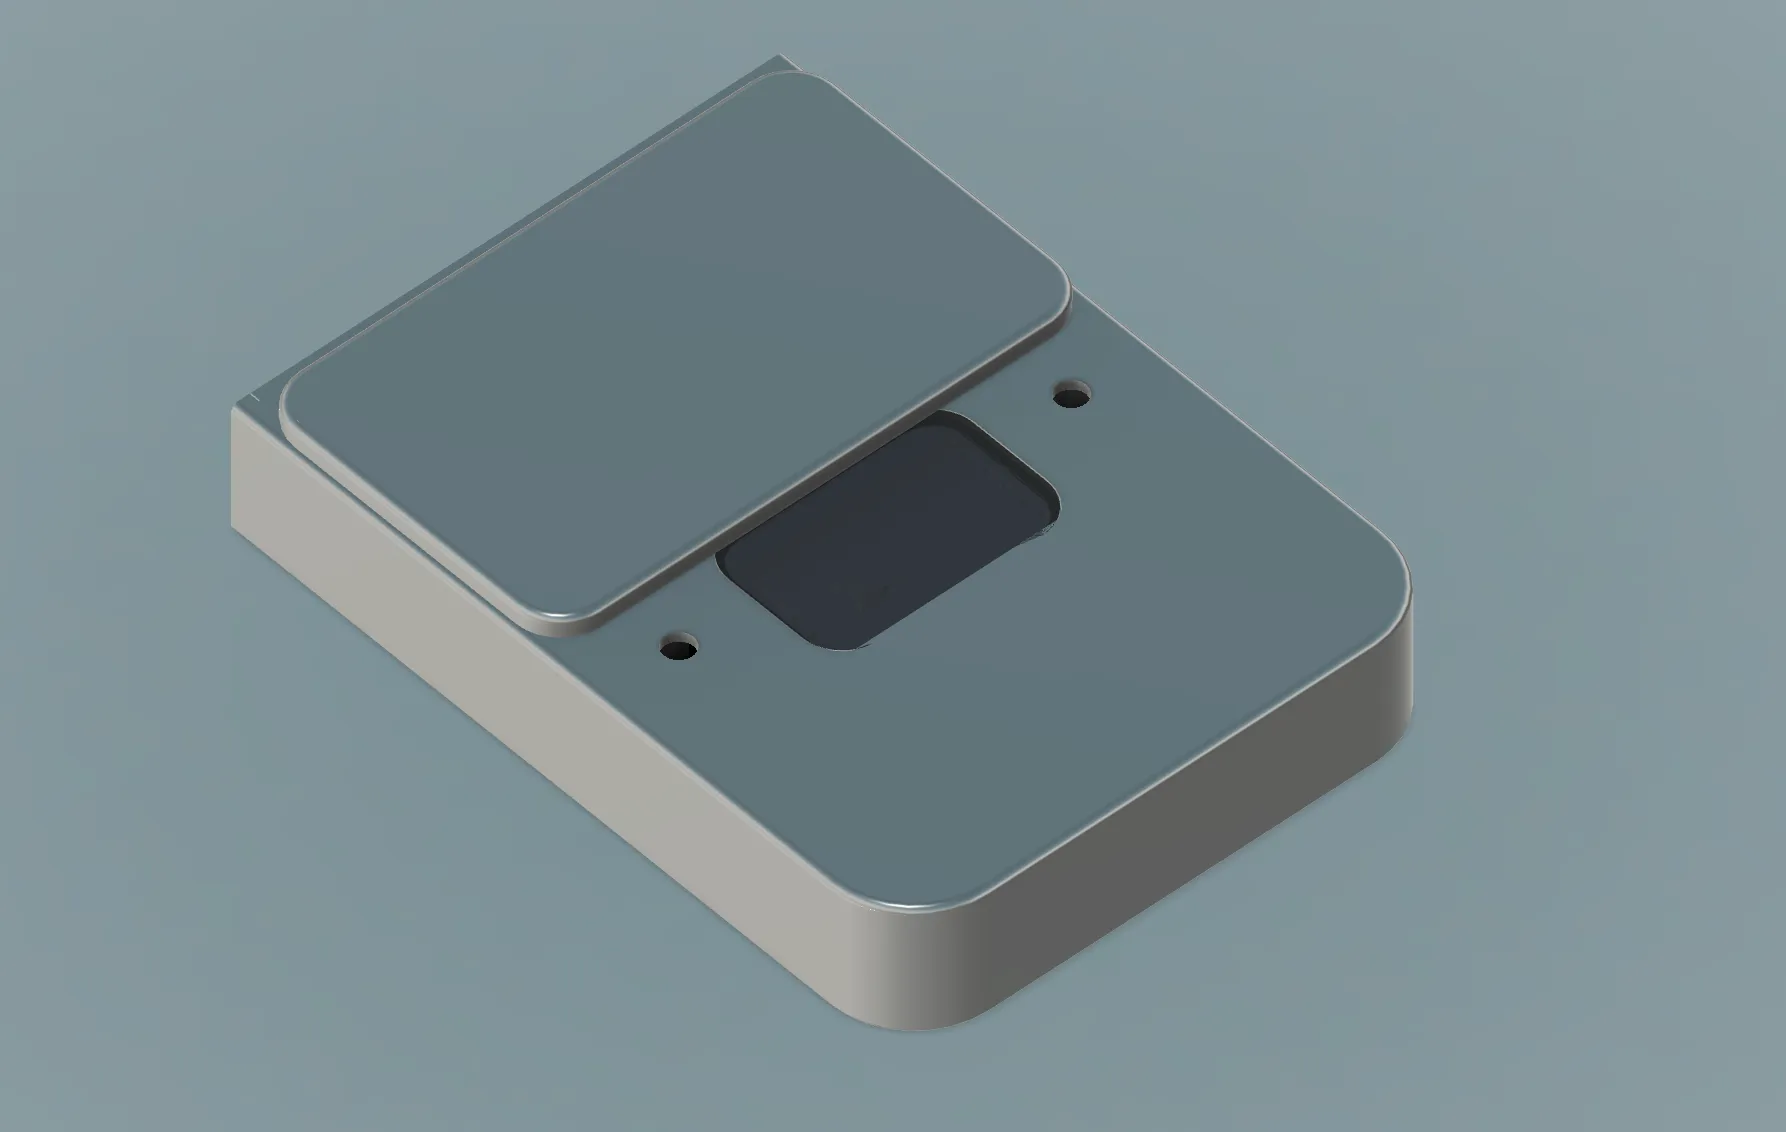
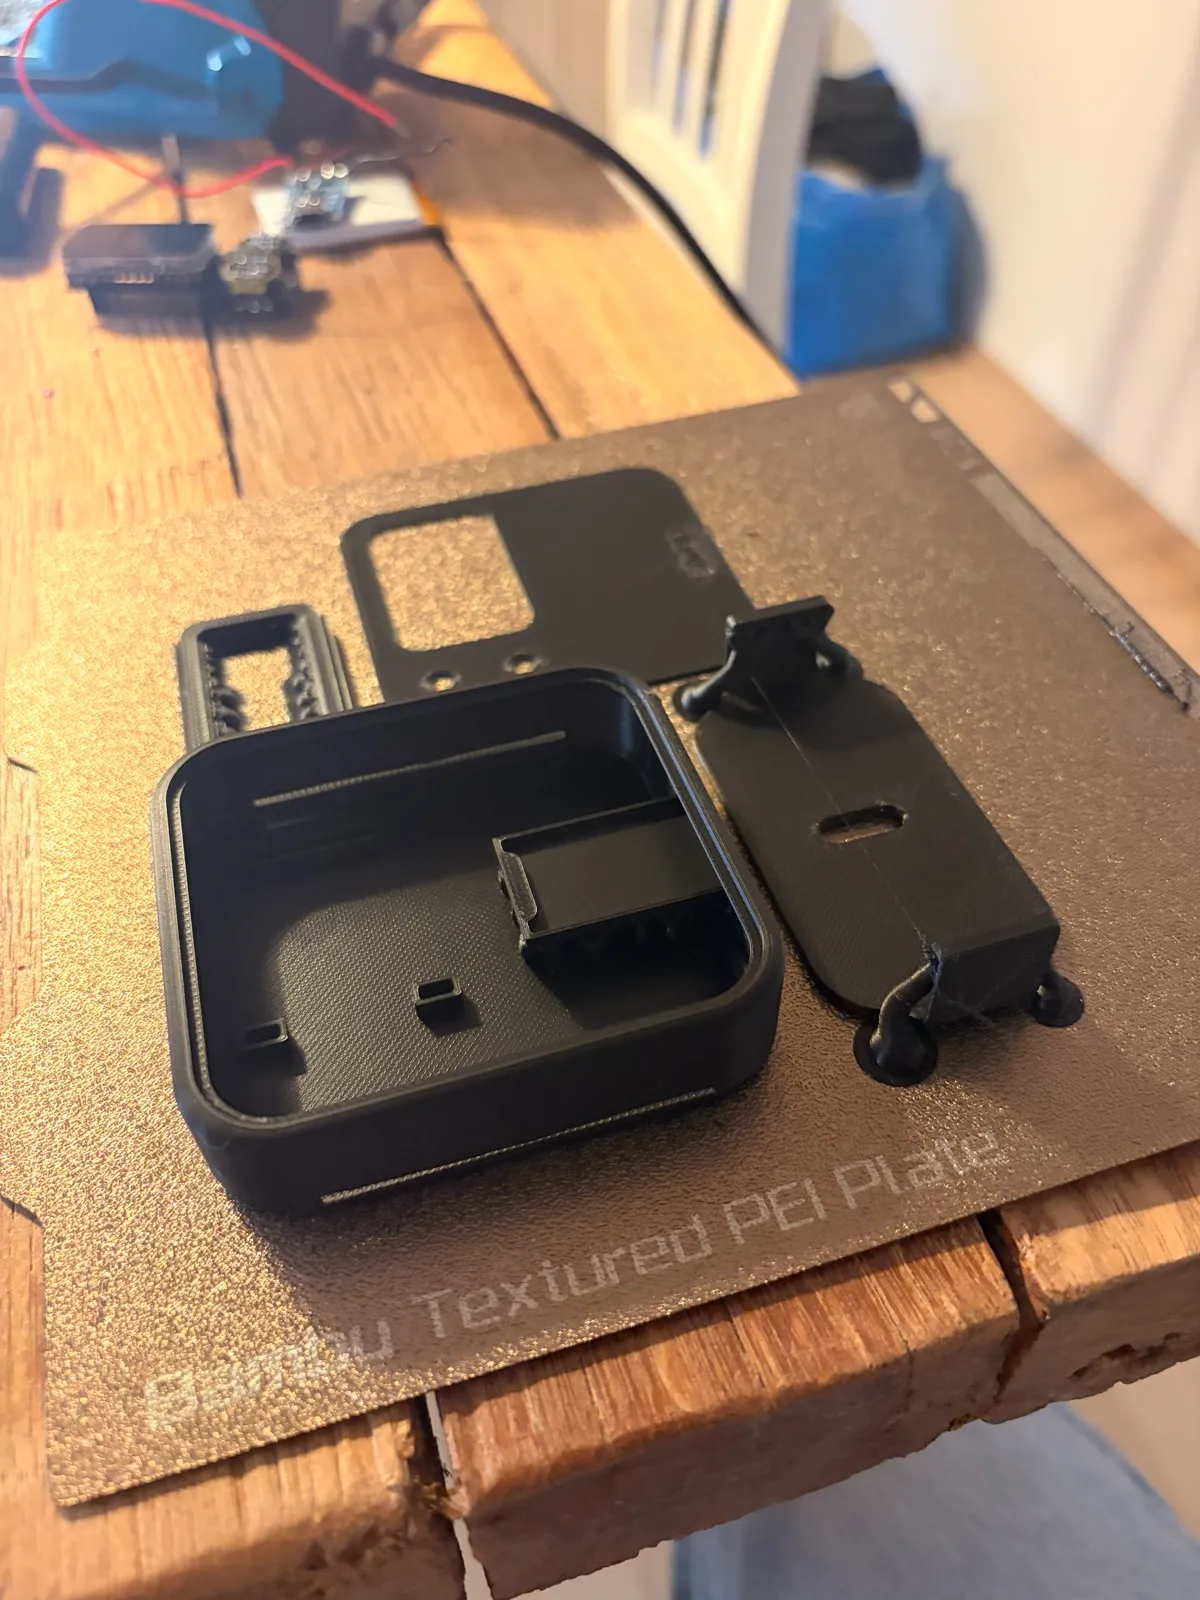
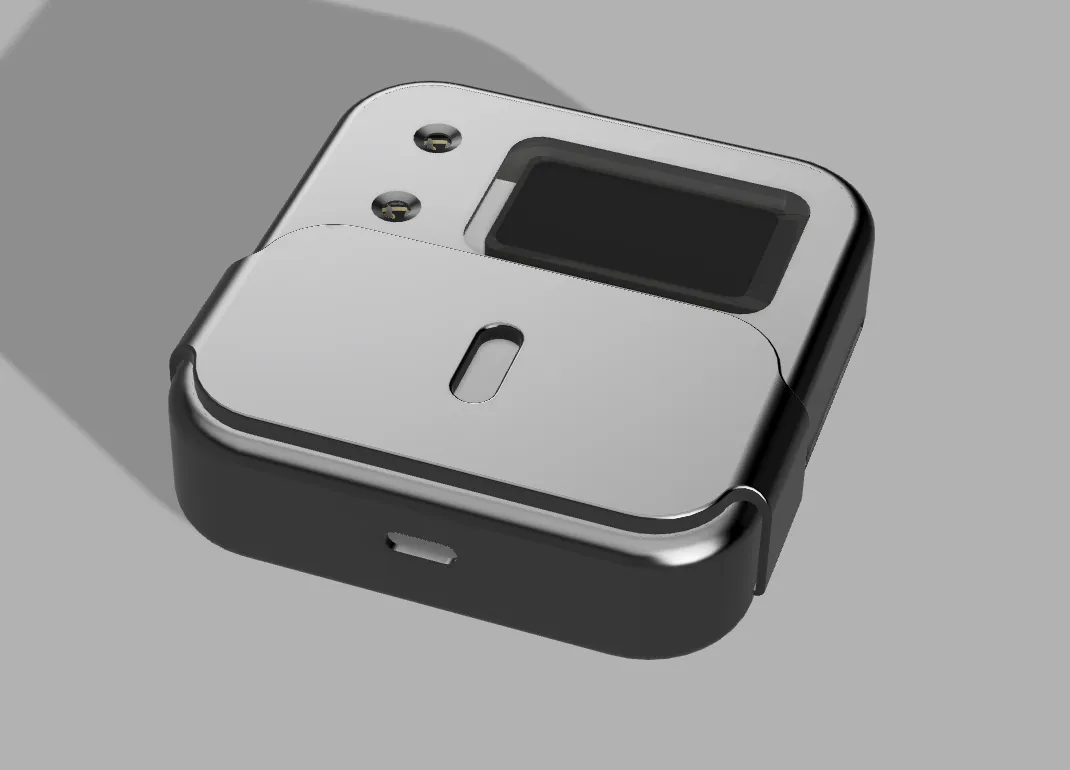
More and more devices record quietly in the background, and I wanted Sivun to do the opposite and leave the choice with the people in the room. You slide the cover open to record and closed to stop, so anyone at the table can tell at a glance whether it’s listening. The keyhole-shaped cutout lets the status light through for the quieter states, like being ready to sync, and it doubles as a reminder that the device has to be unlocked before any data can get in.
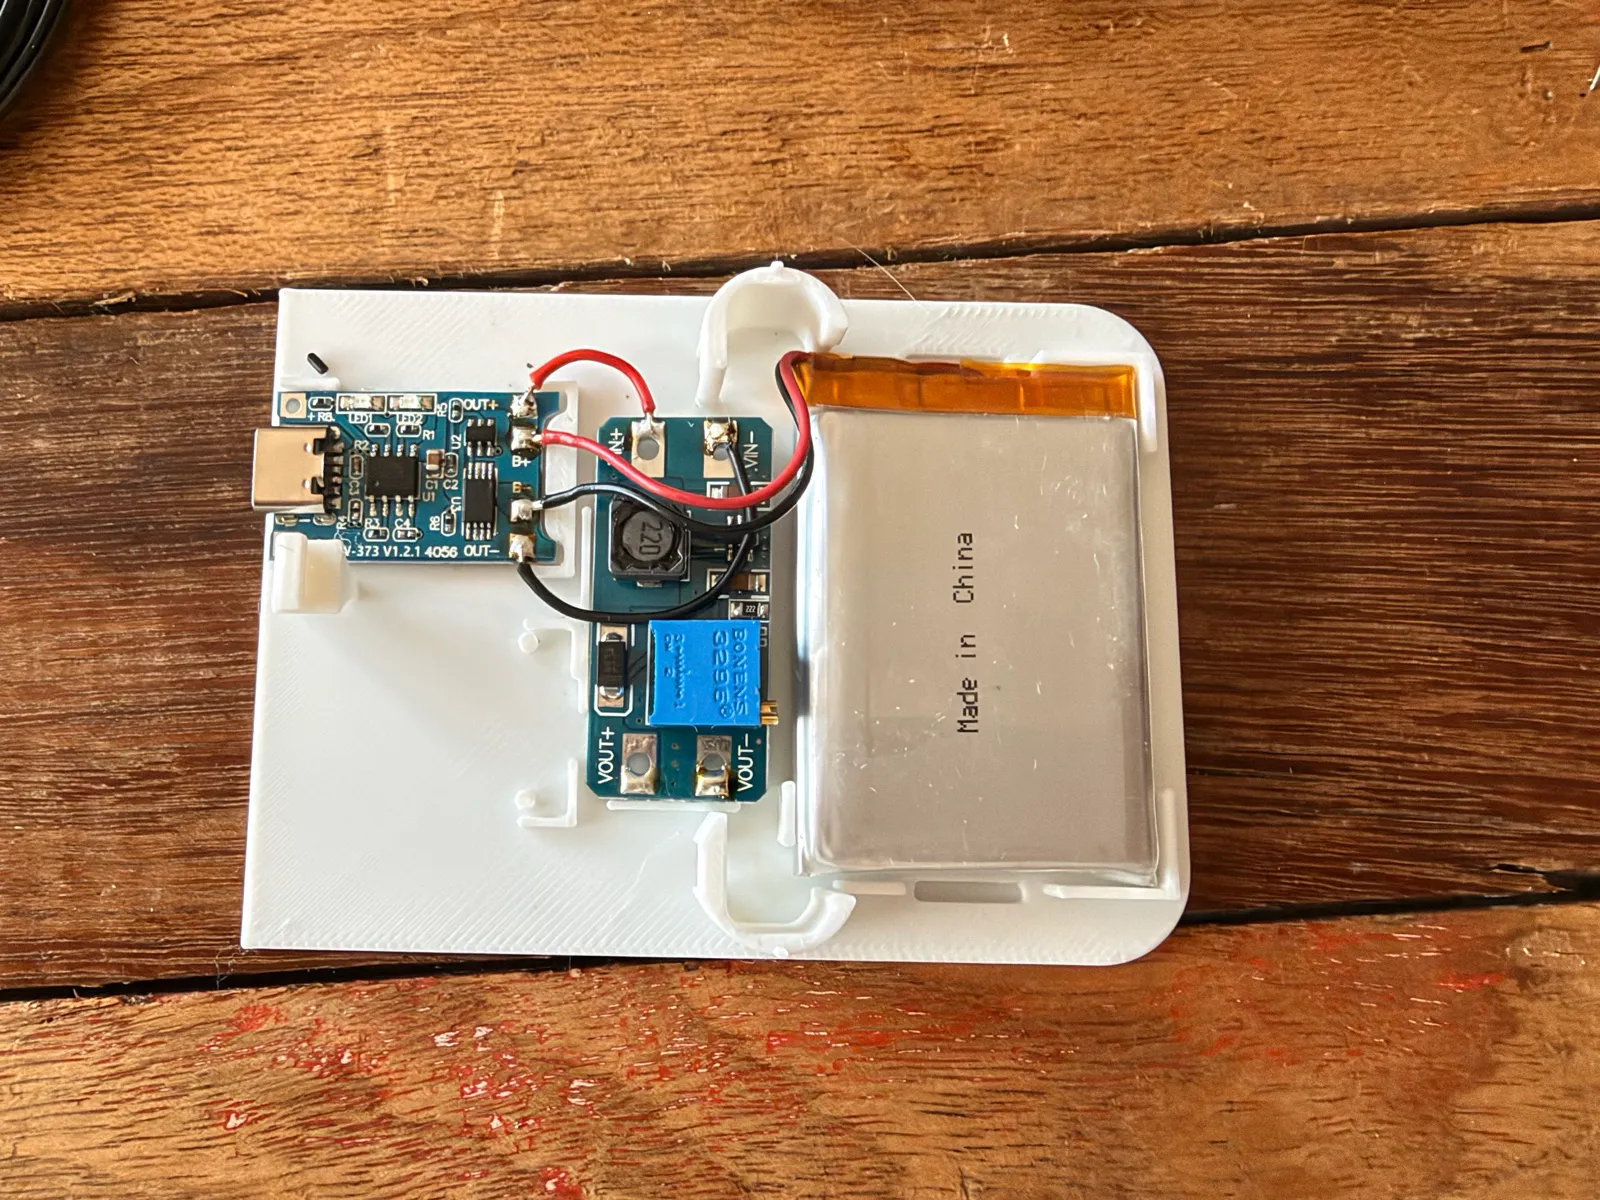
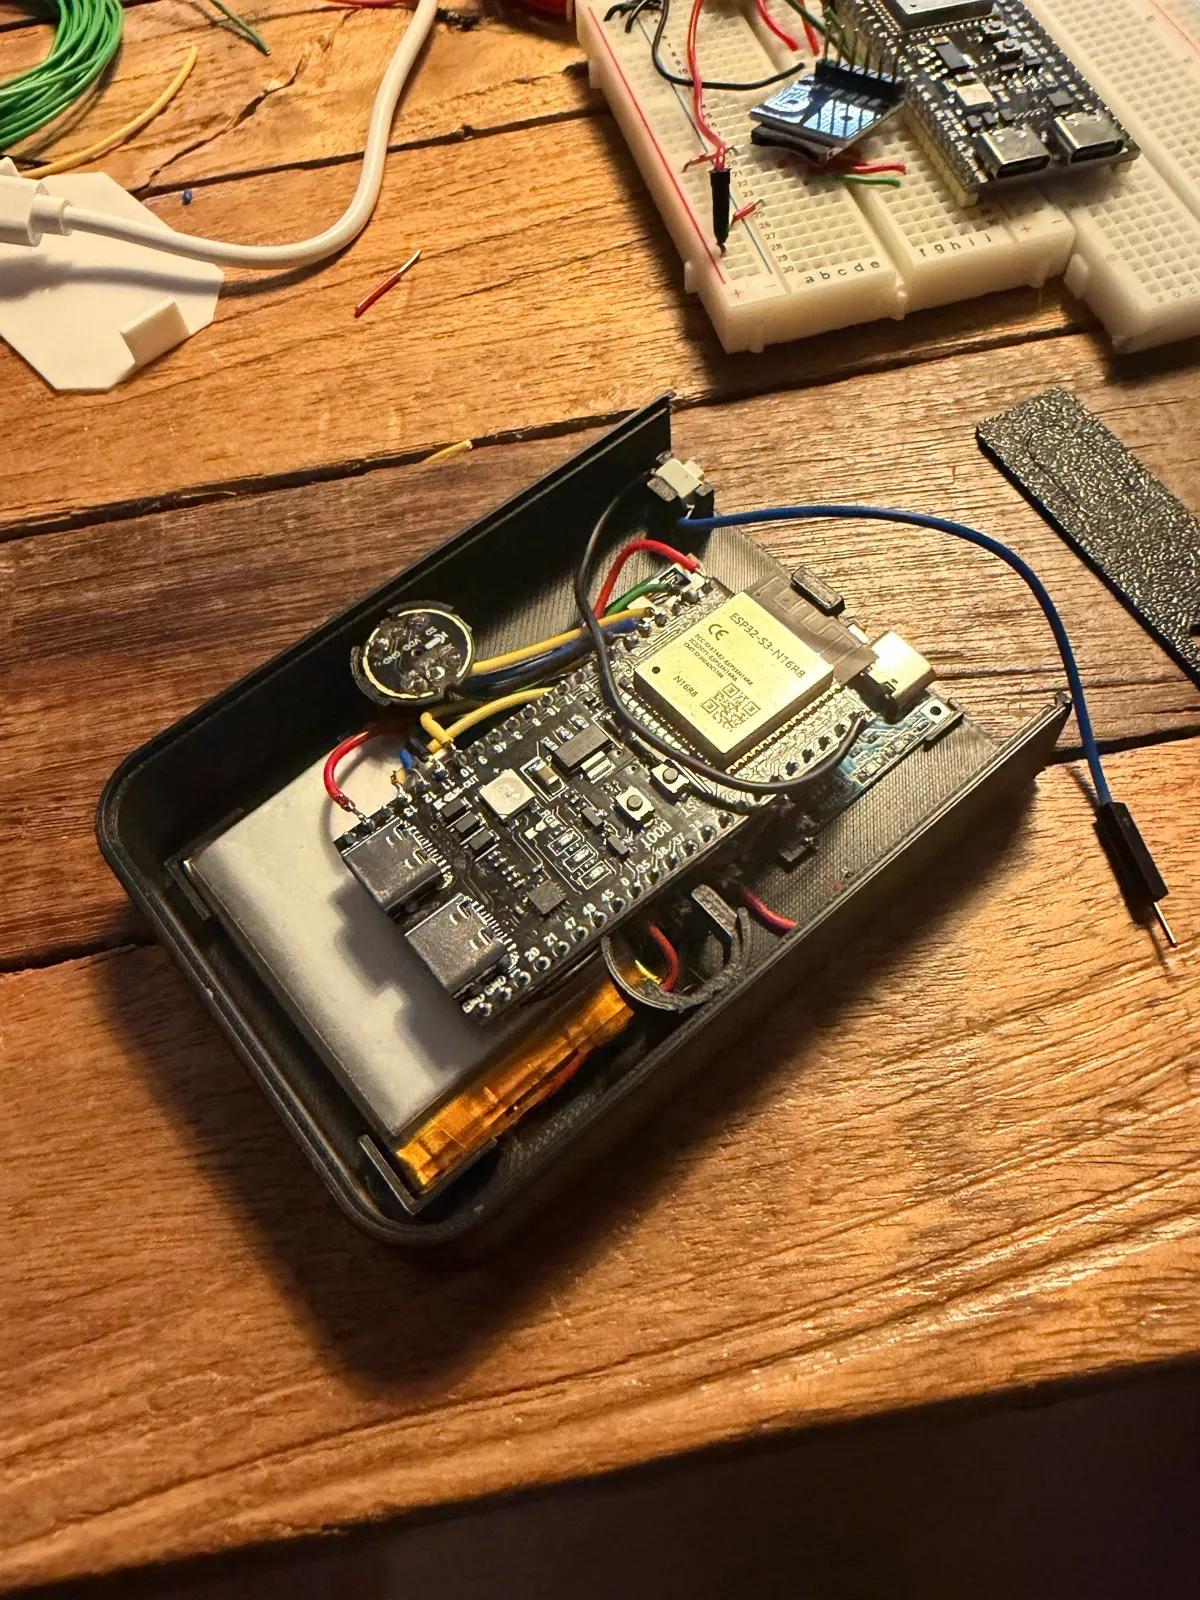
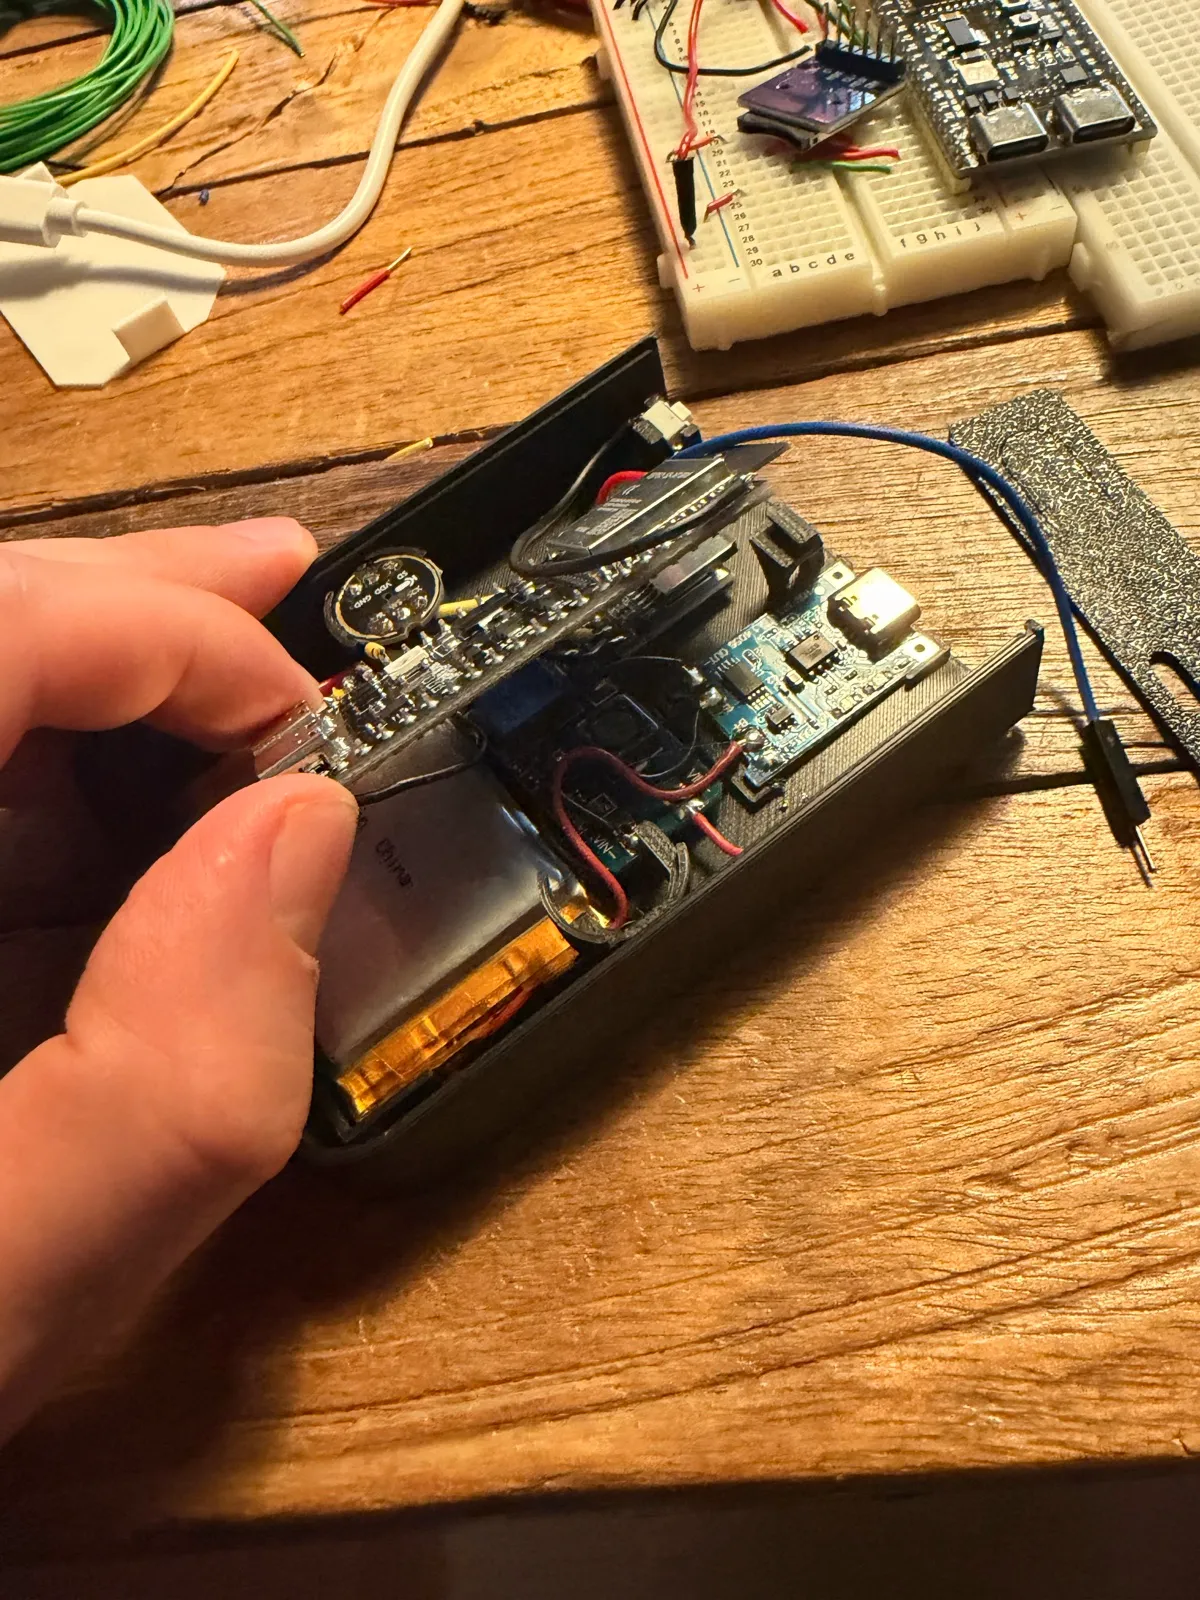
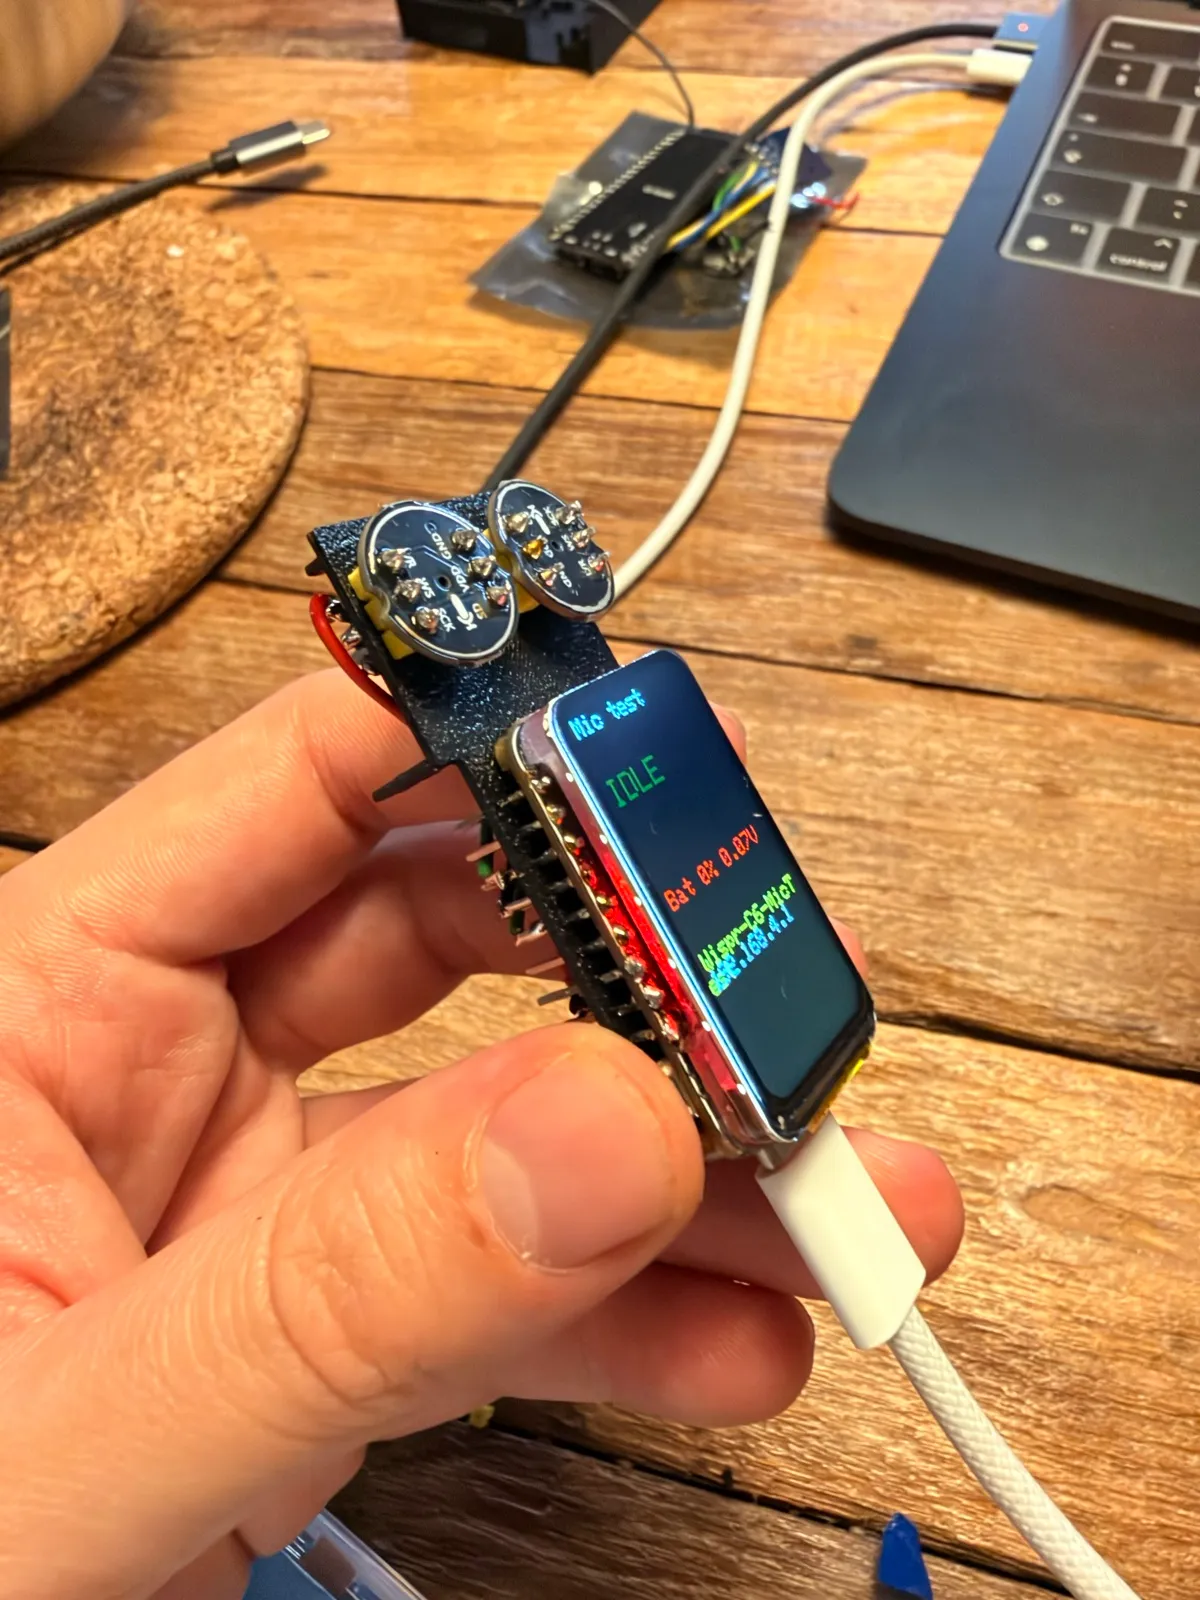
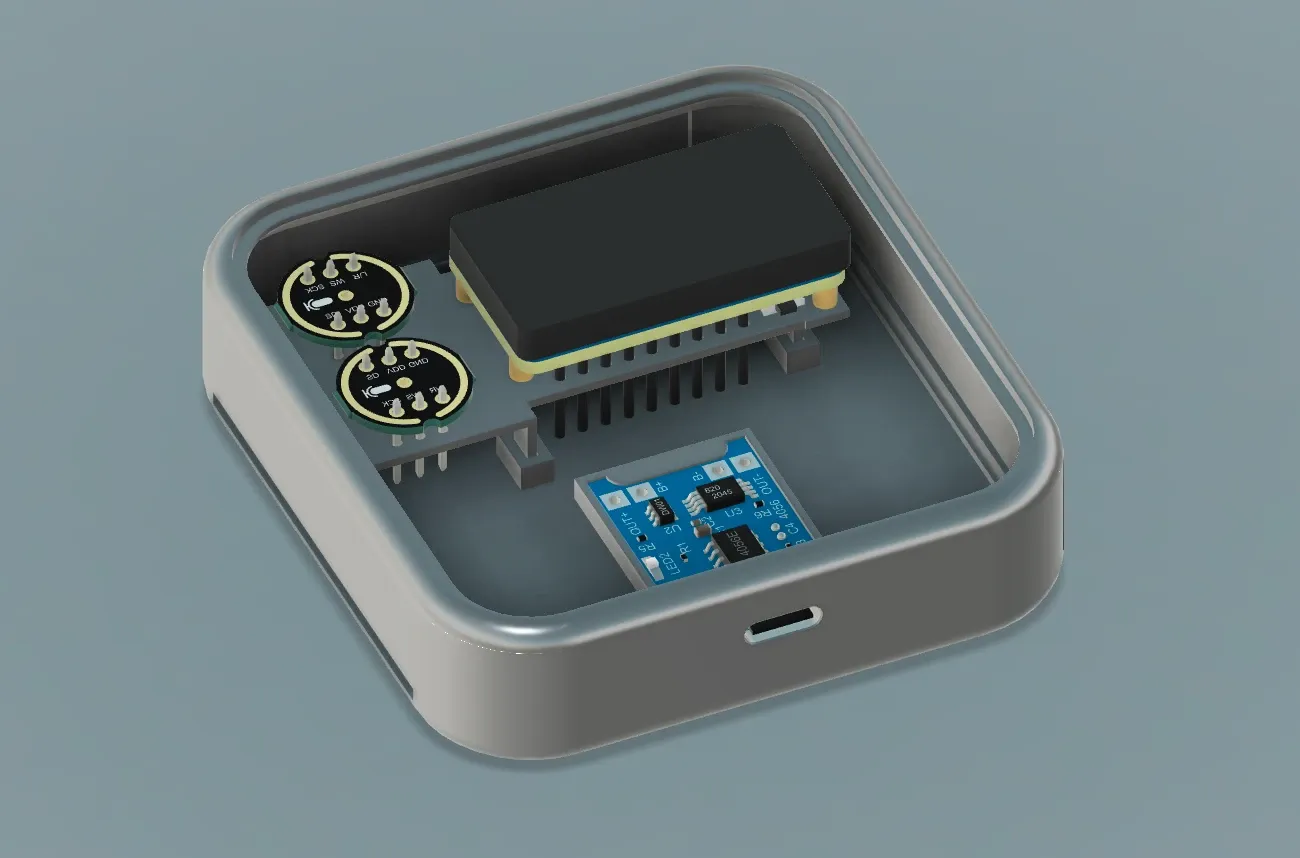
I started with V1 on an ESP32-S3, and it quickly got crowded: a separate SD card module, a boost converter and the charger all had to be wired in, which kept the shell bigger than I wanted. For V2 I moved to an ESP32-C6 board that has the card slot built in and runs straight off the battery, so the device could finally shrink. I chose the version with a screen on purpose. Sivun is meant for meetings that matter, and in those you want to see at a glance that the recording hasn’t been interrupted and how much longer you can keep going.
Curious about this project?
Datasheet
Rev. 2026
Unit
- Designation
- Industrial Designer & Design Technologist
- Discipline
- UX · Physical & digital UI · Interaction · Prototyping
- Origin
- German / Spanish
- Deployed
- Graz, Austria
Field record
- 2025–
- LearningSuite Flexco, Graz: Product development, UX/UI
- 2025
- Mercedes-Benz Design, Sindelfingen: Werkstudent, Advanced UX Design
- 2024–25
- Mercedes-Benz Design, Sindelfingen: MSc thesis, in studio
- 2021–23
- LLP Renderings: Self-taught 3D, freelance product renders & animation
- 2021
- Smart-Ship B.V.: Azimuth control ergonomics
Certification
- MSc ’25
- Industrial Design: TU Eindhoven (Research, Design & Development)
- BSc ’21
- Industrial Design Engineering: The Hague University
Toolchain
- Design
- Figma · ProtoPie · Webflow · Adobe Creative Suite
- 3D / CAD
- Fusion 360 · Blender
- Code
- Arduino (C++) · Python · Processing · ESP32 / I²C
- AI / Build
- Claude Code · Cursor · ComfyUI
Protocols
- Languages
- German C2 · English C2 · Spanish C2 · Dutch B2
Full record
